X-Box Media Center
The Xbox Media Center (XBMC), which evolved from several media players for Microsoft’s Xbox starting in 2002, was an early alternative to Microsoft Media Center—which could be optionally installed with Windows. Although it required a bit more configuration, it offered many additional features and codecs. With version 14 (Helix, March 2015), the project was renamed Kodi. It was already clear at that point that the upcoming Windows 10 (released on July 29, 2015) would no longer include Media Center, and Kodi would be virtually the only option for this purpose.
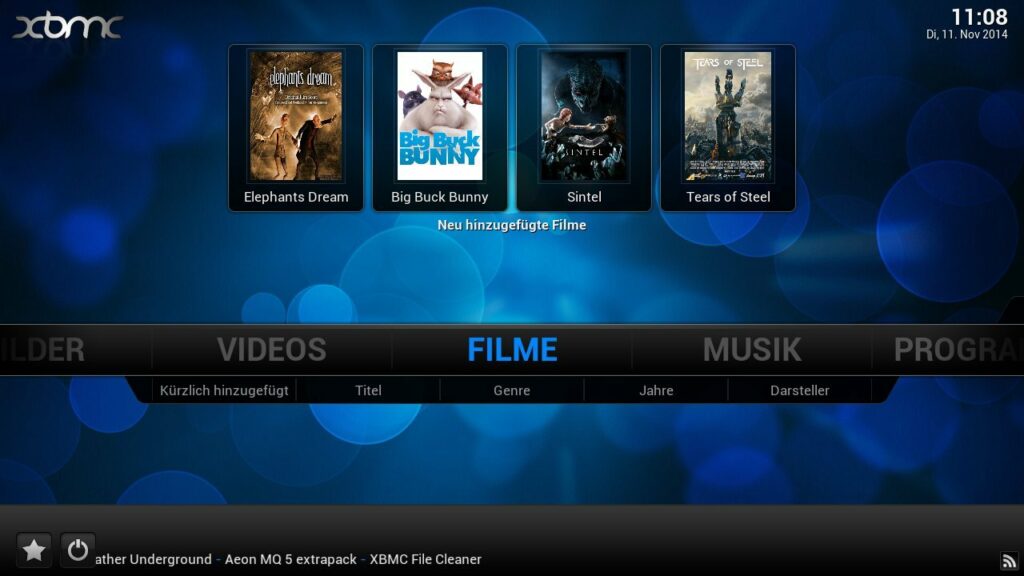
I had already taken my first steps with XBMC, but kept running into problems. Things improved significantly with Kodi. I always had the latest version installed on my laptop, which could access my network hard drive via an SMB share and play videos from there.
Kodi
At first, I had relied on the online module to parse descriptions and cast information, but as my collection of TV recordings—and now music as well—grew, I realized that the way I was naming my media files left much to be desired—the module couldn’t find matching entries for too many of them. So I set to work and created the necessary files myself, complete with the required information. That way, I was able to have Kodi do the parsing offline—using the files I had created.
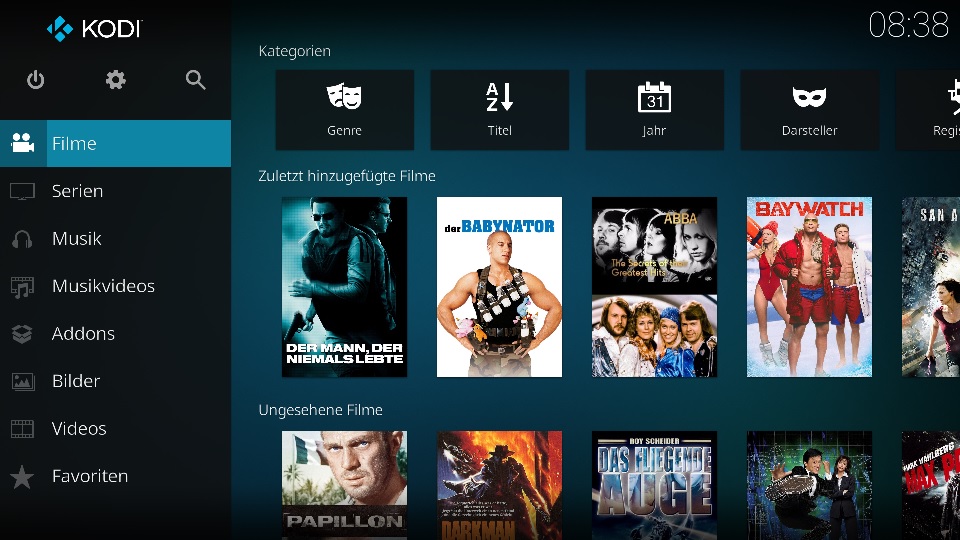
After installing it on my laptop, Kodi had long since made its way onto my desktop PC as well, and I had a substantial number of tools to help me create the files containing information (*.NFO) about movies and TV shows. Before long, space on the network drive became too tight, and I had to come up with a sensible backup strategy. I also had to look for software to remove ad blocks and to transcode the files into a suitable container format. But all of that would go beyond the scope of this post and may get its own post at some point.
Hardware
For a long time, I continued to use my laptop to display and play content via Kodi while it was connected to the TV. Although I could already control it remotely using an app on my smartphone (Kodi Core), I still had to go get the laptop and plug it in first. I quickly got tired of that and started looking for another option. I still had a single-board computer—an older Raspberry Pi 2B—that’s perfect for initial experiments.
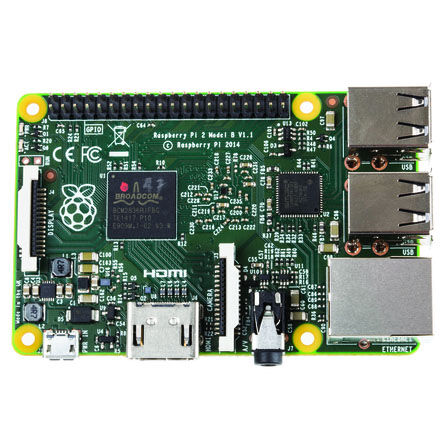
The device has a system-on-chip (SoC) that includes everything needed for a media center PC. After my initial attempts to run the Debian-based Raspbian (now Raspberry OS) on the Raspberry Pi failed rather miserably, I came across a distribution created specifically for the mini-PC: LibreElec. Once I installed it, I was so impressed that I wanted to make it more user-friendly. An unprotected circuit board connected to the TV not only looks silly, but it can also easily short-circuit and damage the TV.
Argone One
I’d also had another Raspberry Pi (3B) for quite some time—one that’s not only faster but also comes with an inexpensive transparent acrylic case. This protects against errors that could cause short circuits, and you can see the status LEDs. It’s great for testing, but the ports are on three sides, which isn’t ideal for a set-top box. Also, the GPIO header at the top of the board can no longer be used.
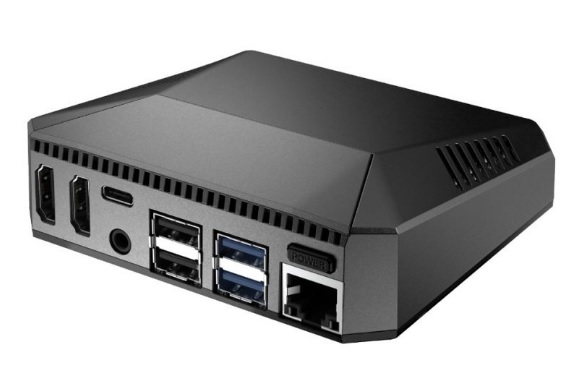
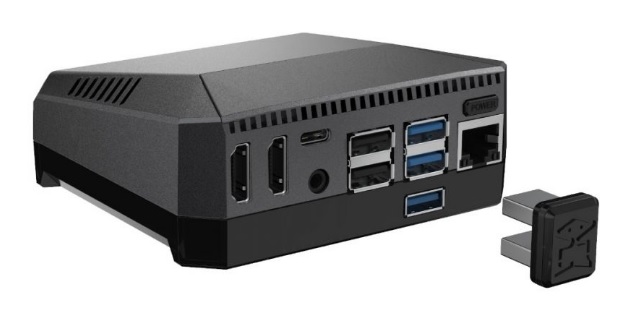
I then found the Argone One. It’s a case that routes all connections to the back, uses the GPIOs for infrared control, and still routes the header upward (protected by a magnetic cover). In addition, the SoC is connected to the aluminum case via a thermal pad, which aids in cooling. It also includes a small fan for additional cooling and an on/off switch.
There are different versions of the case (see above). I’m using the v2. The difference is that the M.2 slot has an additional module attached to the bottom that accommodates an SSD in the M.2 format (2280). The SSD is also cooled via the enclosure and connected externally via a connector. The same functionality can be achieved much more affordably with a USB flash drive on the v2. If you’d like to build your own, I highly recommend a complete kit available from the Heise Shop. Then all you’ll need is an SD card, a USB flash drive if necessary, and, if desired, a compatible or universal remote control.
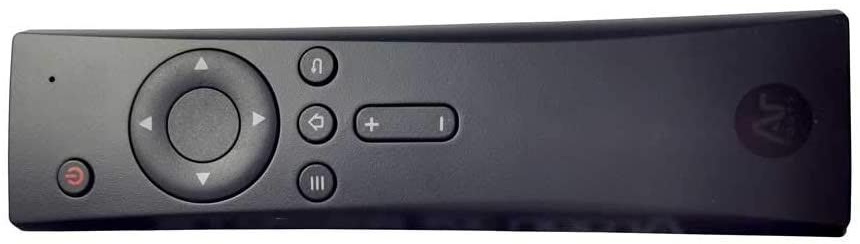
I still had a 16 GB SD card and a 32 GB USB flash drive at home. I got the complete package for €100, and the remote control cost another €10. The server (NAS) that hosts the movies, TV episodes, and music is also set up. The installation process alone would be enough to fill a whole post. But I’d also like to mention that I now have Kodi running as an Android app on the big TV, and the Raspberry Pi is connected to the small TV in the bedroom.
With a small tweak to Kodi’s configuration (creating a file), I’ve set up all four installations (TV, Raspberry Pi, PC, and laptop) to use the same MariaDB database provided by my NAS. Now, when I add a movie on my PC or laptop, for example, I can index it right away, and it’s automatically available on both TVs.